{watch my corn pop up in rows
every night be tucked in close to you}
every night be tucked in close to you}
Only...without the corn part. I thought I'd share my latest craft project! I got the idea from Shannon at Bless Our Nest. I'm not sure how I originally found Shannon's blog, but I love her style! Her crafty ideas are great (and usually very affordable), and her home decor is so light and "Southern cottage"-like, without being overdone or looking like every other house on the block. So, that's where this "Growing Grass" project idea started!
I love green (evidenced by the fact that it appears in the decor of every room in our apartment), and it's just nice to be able to bring a little life into a city dwellin'. I don't have the best history with keeping large plants alive, but I did a little inventory.
- Herb Garden: Alive
- IKEA Lucky Bamboo: Alive
- Pothos Plant: Taking Over the Bedroom (It was marked "Care: Very Easy" on the Home Depot tag. But, that's beside the point.)
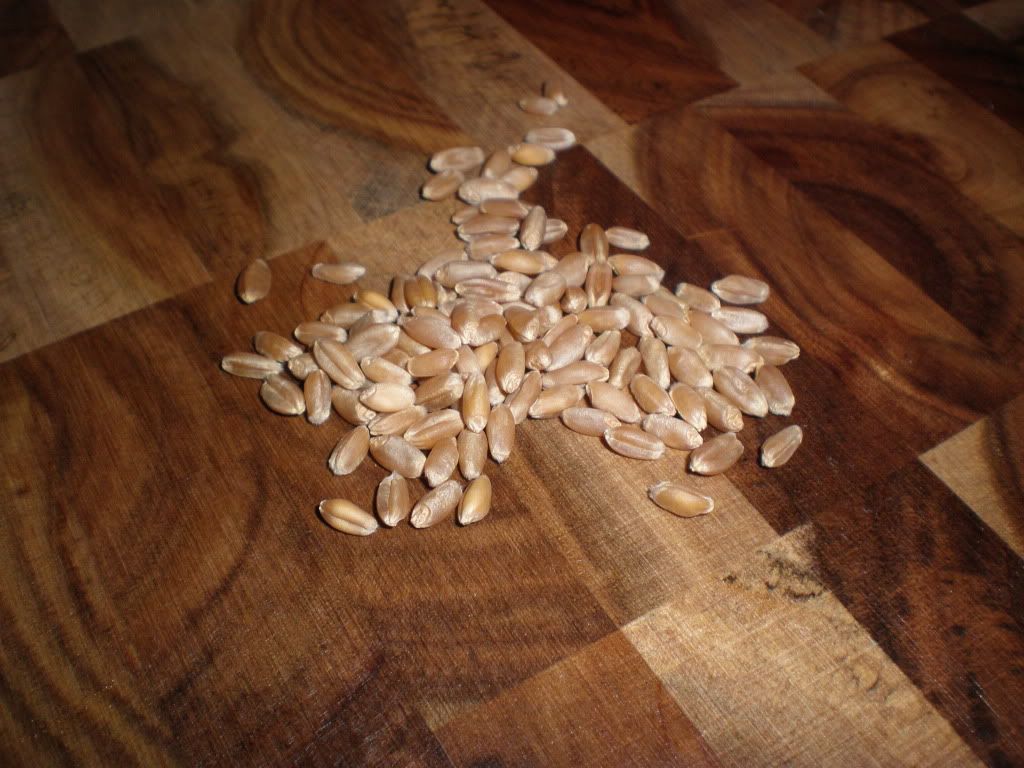
Clearly this is proof that my thumb is turning greener, so I thought I'd give this little grass-growing project a try. (My confidence was cemented by the sweet saleswoman at Whole Foods who reassured me in her Jamaican accent that, "Yes, it will grow! You just have to experiment with it!" I guess I looked a little unsure about the popcorn kernel-looking things she was flooding into a bag...) See below.
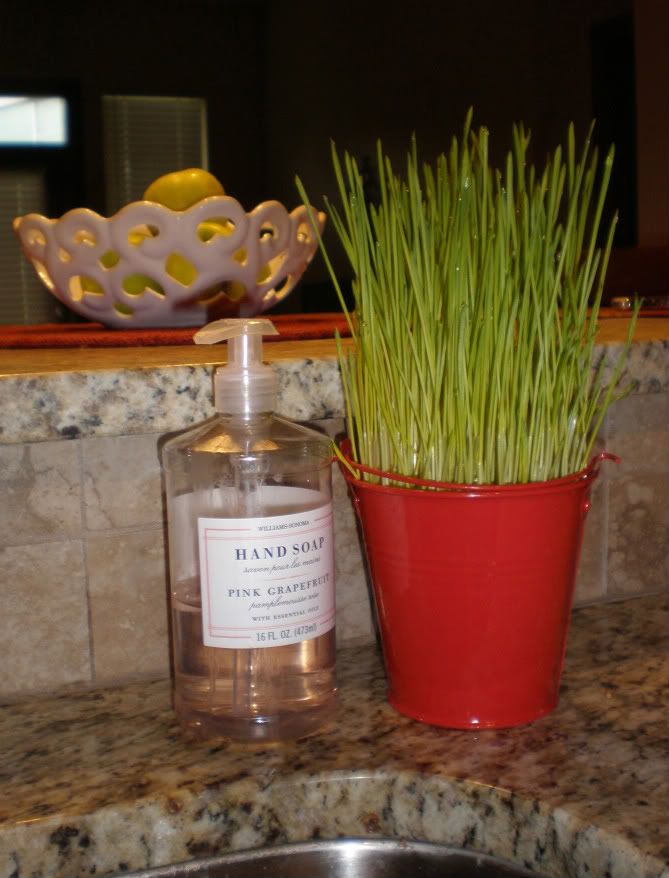
And, she was right. It did grow! I think these make cute little accents, and it only requires dirt, seeds and containers you already have or can get for a few dollars. Cheap! Here's a step by step with pictures in case you'd like to bring a little spring into your house.
Supplies
Wheat Grass Seeds a.k.a. Red Wheat Berries*
Wheat Grass Seeds a.k.a. Red Wheat Berries*
Potting Soil
Containers of Your Choice
Water
Paper Towels
A Little Patience
*You can buy these in the bulk section at a store like Whole Foods, or you can order online. Mine were 47cents.
~
Directions
Containers of Your Choice
Water
Paper Towels
A Little Patience
*You can buy these in the bulk section at a store like Whole Foods, or you can order online. Mine were 47cents.
~
Directions
Step 1: Buy some wheat berries!
Step 2: Put the berries in a small dish and cover with clean water. Let soak overnight (8 hours).
Step 3: Drain & rinse the berries!

Step 4: Line a plate with a damp paper towel, and shake berries out in an even layer. Cover with another damp paper towel. Leave for another 8 hours or so, periodically re-dampening.* *Optional -- Shannon didn't do this step, but I read it somewhere else. I don't think it necessarily made a difference that I did it. Also, the picture of this step is ugly. Moving on.
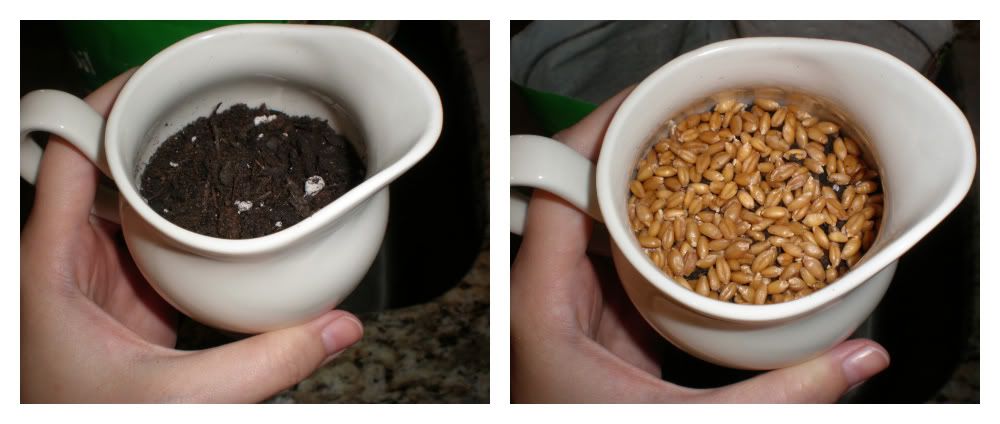
Step 5: Fill your containers with potting soil. Leave about a half-inch between the soil and the top of the container.
Step 6: Place an even (but generous) layer of wheat berries on top of the dirt. Water.
Step 7: Cover top of containers with a damp paper towel until sprouts start to appear.
Step 8: When you see sprouts, text your husband to say, "We have sproutage!!!"
{just kidding, but you can if you want.}
Real Step 8: Uncover and continuing watering and observing growth.
Step 9: Display!

{After doing this project, I realized that I was probably drawn to it because I used to have a little glass vase of fake plastic grass in fake acrylic "water" in my college and subsequently grad school apartments. I carted that thing around for years, but in retrospect, it was probably as tacky as it sounds.}
Step 2: Put the berries in a small dish and cover with clean water. Let soak overnight (8 hours).
Step 3: Drain & rinse the berries!

Step 4: Line a plate with a damp paper towel, and shake berries out in an even layer. Cover with another damp paper towel. Leave for another 8 hours or so, periodically re-dampening.*
Step 5: Fill your containers with potting soil. Leave about a half-inch between the soil and the top of the container.
Step 6: Place an even (but generous) layer of wheat berries on top of the dirt. Water.
 |
| Sunday |
Step 7: Cover top of containers with a damp paper towel until sprouts start to appear.
Step 8: When you see sprouts, text your husband to say, "We have sproutage!!!"
{just kidding, but you can if you want.}
 |
| Tuesday |
Real Step 8: Uncover and continuing watering and observing growth.
 |
| Wednesday - Thursday - Friday |
Step 9: Display!

{After doing this project, I realized that I was probably drawn to it because I used to have a little glass vase of fake plastic grass in fake acrylic "water" in my college and subsequently grad school apartments. I carted that thing around for years, but in retrospect, it was probably as tacky as it sounds.}


No comments:
Post a Comment